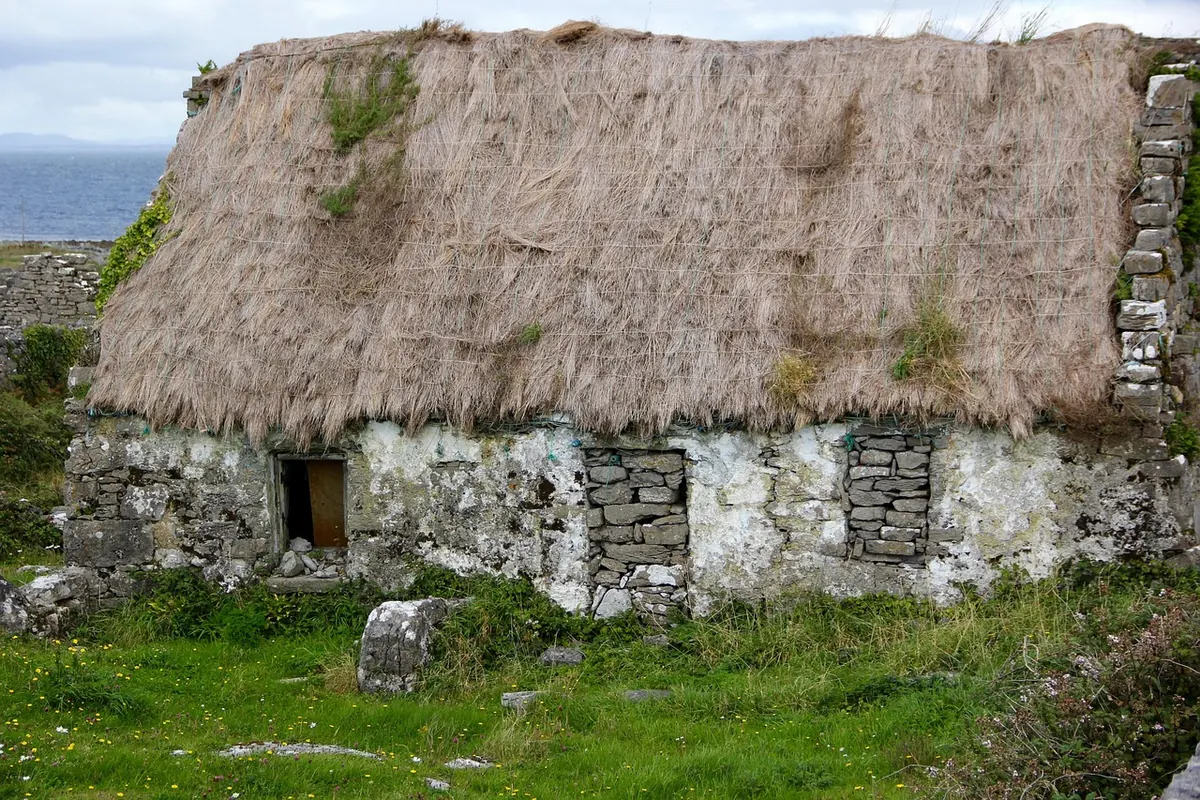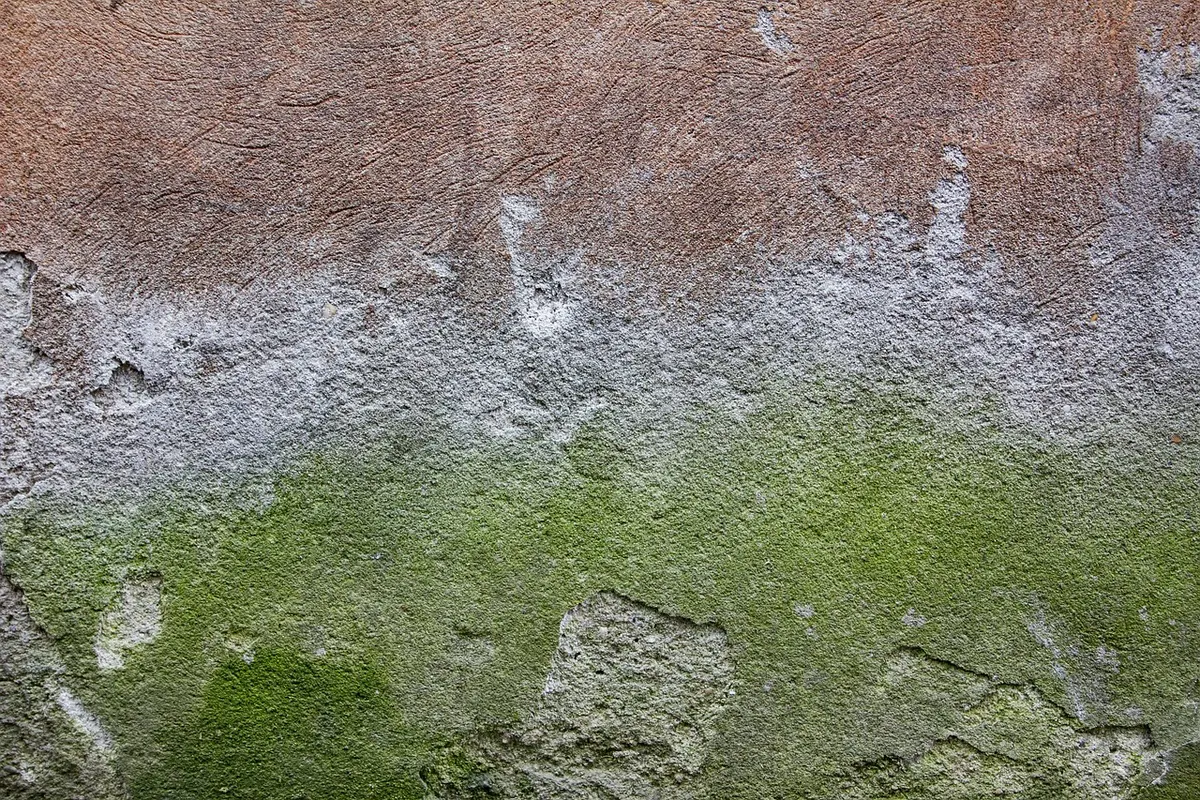
A gable end has no neighbour to lean on and no shelter from the prevailing wind, so it takes weather that other walls never see. That is why damp so often shows up there first: a tide mark creeping up a back bedroom wall, a patch of blown plaster behind a wardrobe, or a skirting board gone soft and black at the edge.
The reassuring part is that gable-end damp is rarely mysterious once you stop staring at the damp patch and start looking uphill. Water almost always arrives higher up the wall than the stain it leaves behind.
Read the wall before you touch it
Spend an hour with a torch and a notebook before you spend anything on materials. Come back during driving rain if you can, and again a day later. Patterns tell you more than any damp meter: a cheap meter is useful for comparing one spot with another, but salts, foil-backed plasterboard and recent decorating can all skew a reading. Treat it as a hint, not a diagnosis.
Write down what you actually see:
- The height and shape of the tide mark — a clean horizontal line near the floor points to ground levels or a bridged damp-proof course; a ragged patch halfway up points to a defect above.
- Whether it worsens after rain driven from a particular direction. A gable facing south-west will tell you a lot about which face is failing.
- Staining, green algae or dark streaks on the external brickwork, which often trace the path water is taking.
- White, fluffy salts on the internal plaster — efflorescence means moisture is moving through the wall and drying out at that point.
- The condition of everything above: gutters, downpipes, hopper heads, copings and flashings.
Rainwater goods do more damage than walls ever do
Start at the top and work down, because overflowing gutters are the single most common cause of a wet gable end. A gutter that has sagged, lost its fall or collected moss and grit will hold water and spill it down the wall instead of sending it to the downpipe. Joints that have failed leak in a steady dribble rather than a dramatic flood, which is exactly why they go unnoticed for years.
A simple test is to run a hose into the gutter at the far end and watch the whole run. Look for water escaping at joints, backing up behind a blockage, or pouring over the front edge. Check the hopper head too, and follow the downpipe to the ground. If it discharges onto the wall base, into a cracked gully or straight into saturated ground, you have found a likely culprit without climbing anything. Clear the gutters, renew failed sections, restore the fall, and extend the downpipe to a proper gully or soakaway well away from the wall.
Pointing, brickwork and the case for lime
Failed pointing is the classic gable-end defect because that face gets the wind and rain while the sheltered elevations stay sound. Look for recessed, crumbling or missing mortar, hairline cracks, and weeds or moss rooted in open joints.
When you repoint, the new mortar must be softer and more permeable than the masonry around it. On older brick and stone, that means lime. Cement-rich mortar is harder than the bricks it holds, so it traps moisture, forces it out through the brick faces and eventually causes spalling and crumbling. Rake the joints back to roughly twice their width, damp them down, and pack the mortar in properly, finishing it flush or slightly recessed. Never seal joints with silicone or brush the wall with a clear water repellent: both trap water inside the wall and tend to make the damp worse, not better.
Render and paint: when the coat becomes a raincoat
Cement render is a common villain on solid-walled gables. It cracks as the building moves, water gets behind it, and because it is barely breathable, the moisture cannot escape outwards. Tap the wall with the handle of a screwdriver and listen for hollow, drummy patches. Stained, blistering or blown render usually needs to come off. Replace it, if at all, with a breathable lime render, or leave the brickwork exposed if it is sound and the exposure is acceptable. The same logic applies to thick plastic masonry paint on a solid wall: it looks like protection and behaves like a lid.
Ground levels, drains and the base of the wall
If the damp is confined to the bottom metre, look at what has happened outside. Patios, raised beds, tarmac and garden soil are often built up above the original damp-proof course, and once the DPC is bridged, water has a direct route into the wall by capillary action. As a rule of thumb, external ground should sit around 150mm — two brick courses — below the DPC. If it doesn't, dig it out and create a gap.
While you are down there, check that air bricks serving a suspended floor are clear, and consider whether the ground itself drains. A simple French drain or a channel that carries water away from the base can transform a persistently damp wall.
Don't forget the top of the gable
Copings, kneelers, chimney stacks and the flashings where the gable meets the roof all fail with age. Cracked cement fillets and perished mortar at the very top of the wall let in small amounts of water that travel down inside the brickwork and appear metres away at skirting level. If you are repointing anyway, have the parapet and chimney looked at in the same visit.
The repair order that actually works
Sequence matters. Fixing the wrong thing first wastes money and often hides the real problem.
- Survey and record everything, ideally in wet weather.
- Clear, repair and re-fix the rainwater goods.
- Deal with the top of the wall: copings, flashings, chimney and fillets.
- Lower external ground levels and improve drainage at the base.
- Repoint defective joints in lime mortar.
- Remove or replace failed cement render and non-breathable coatings.
- Only then make good internally, and only once the wall has dried.
Give it time, then check again
A solid brick wall can take months to dry out after the source of water is removed, so resist the urge to replaster, repaint or seal the inside straight away. Tanking the internal face is not a repair; it traps moisture in the wall and pushes it somewhere else. Leave the wall ventilated, keep furniture slightly away from it, and check the tide mark over the following winter rather than the following week.
If the cause still isn't clear, or the building is old and unusual, it is worth paying for an independent surveyor who understands traditional construction rather than accepting a free damp survey tied to a chemical treatment. And if the property is listed or in a conservation area, check with the local authority's conservation officer before altering the external face — repointing, rendering and even some painting may need consent.
Photo: StockSnap / Pixabay