A gable end takes everything the weather throws at it. There's no eaves overhang to break the fall of rain, no sheltered corner to hide in — just a flat, fully exposed face of brick or stone with rain driven hard against it year after year. When the mortar joints start to crumble, water gets in, frost lifts the brick faces, and a wall that looked merely tired last spring can look properly unwell by Christmas. Repointing is how you break that cycle, but only if it's done with the right mortar and a decent amount of patience.
Cement is the mistake made most often. It's harder, denser and far less breathable than the brick it sits between, so it traps moisture in the wall and pushes the frost at the brickwork instead of the joint. Done properly with lime, a repoint lets the wall dry out, moves with the building, and can last a generation or more.
Why gable ends fail first
A gable is the highest, most exposed part of most houses and the least protected. Wind-driven rain hits it at an angle that pushes water into every open joint. On top of that, the coping or verge along the rake often has its own tired mortar, and a leaking gutter or a slipped flashing higher up will send water down the wall face long before the joints themselves are the real problem.
So look up before you kneel down. Check the coping stones, the roof verge, the chimney flaunching and the parapet if you have one. If water is getting in up there, repointing the whole gable below it is money spent on the wrong thing.
Assessing the wall before you touch it
Spend an hour with a torch and a penknife before you buy anything. You want to know how bad the joints are, what the existing mortar is, and whether there's anything structural going on that a trowel won't fix.
- Test the mortar: scrape a joint with a knife. Soft, sandy, pale grey or buff mortar that crumbles is lime. Hard, grey, resinous stuff that resists the blade is cement, and it will need more careful removal.
- Check the depth of erosion: joints recessed 10mm or more, or ones you can push a finger into, need repointing. Joints that are firm but slightly worn are fine.
- Listen for hollow areas: tap the wall gently. A drummy sound means the mortar has separated from the brick.
- Look for spalled bricks, blown faces and stepped cracking. Cracks that run through the bricks rather than along the joints are a different problem entirely.
- Note the exposure: a gable facing the prevailing wind needs a slightly stronger, more hydraulic mix than a sheltered one.
Tools, sand and lime
You'll need a plugging chisel and lump hammer, a mortar rake or a small angle grinder with a thin diamond blade for stubborn cement, a soft hand brush, a pointing trowel, a hawk, a jointing iron or a piece of copper pipe, a bucket and a mixing board. Add eye protection, a dust mask, gloves and ear defenders if you're grinding. A tarpaulin to catch the rubble will save you hours of clearing up.
Mixing lime mortar
Use washed, well-graded sharp sand — a blend of coarse and fine grades packs better than a single-graded bag of builder's sand, which often carries too much clay and fine silt. For an exposed gable, a moderately hydraulic lime such as NHL 3.5 is a sensible choice; non-hydraulic lime putty sets more slowly and relies on air reaching it, so it suits sheltered walls better.
Mix roughly one part lime to two-and-a-half or three parts sand by volume, but follow the guidance that comes with the lime you buy, since products vary. Add water gradually. The mix should hold its shape on the trowel without slumping, and it should feel fatty rather than gritty. Let it stand for a short while before use, then give it a stir.
Raking out: the job that decides the result
Rake the joints back to a sound base — usually 15–25mm, or roughly two to two-and-a-half times the width of the joint. Go deeper and you risk loosening the bricks. Keep the back of the joint square rather than V-shaped, so the new mortar has something to key into. If you're using a grinder, keep the blade running along the joint and don't let it wander sideways and widen the gap.
Work on a manageable panel — around a square metre at a time — and rake the whole panel out before you point any of it, so the finish is consistent. Brush the dust out with a soft brush; never attack soft brick with a wire brush. Then dampen the wall. A dry, porous gable will suck the water straight out of your mortar and leave it powdery, but you don't want the surface running wet either. Spray it, let it drink, and start pointing while it's still damp.
Packing the joints
Work from the top of each panel downwards, so drips and mortar droppings don't run over joints you've already finished. Press the mortar firmly into the joint with the pointing trowel, filling it in one pass and making sure there are no voids behind the face. Smearing it over the surface is not repointing; it's decorating, and it will fall off within a winter.
Once the mortar has firmed up slightly — usually twenty minutes to an hour, depending on the weather — compress it with a jointing iron and tidy the edges. Finish with a churn brush to close the surface and leave it slightly open-textured, which sheds water better than a slick, trowelled face. Wipe smears off the bricks with a dry brush as you go; a wet sponge just pushes lime into the brick.
Choosing a joint profile
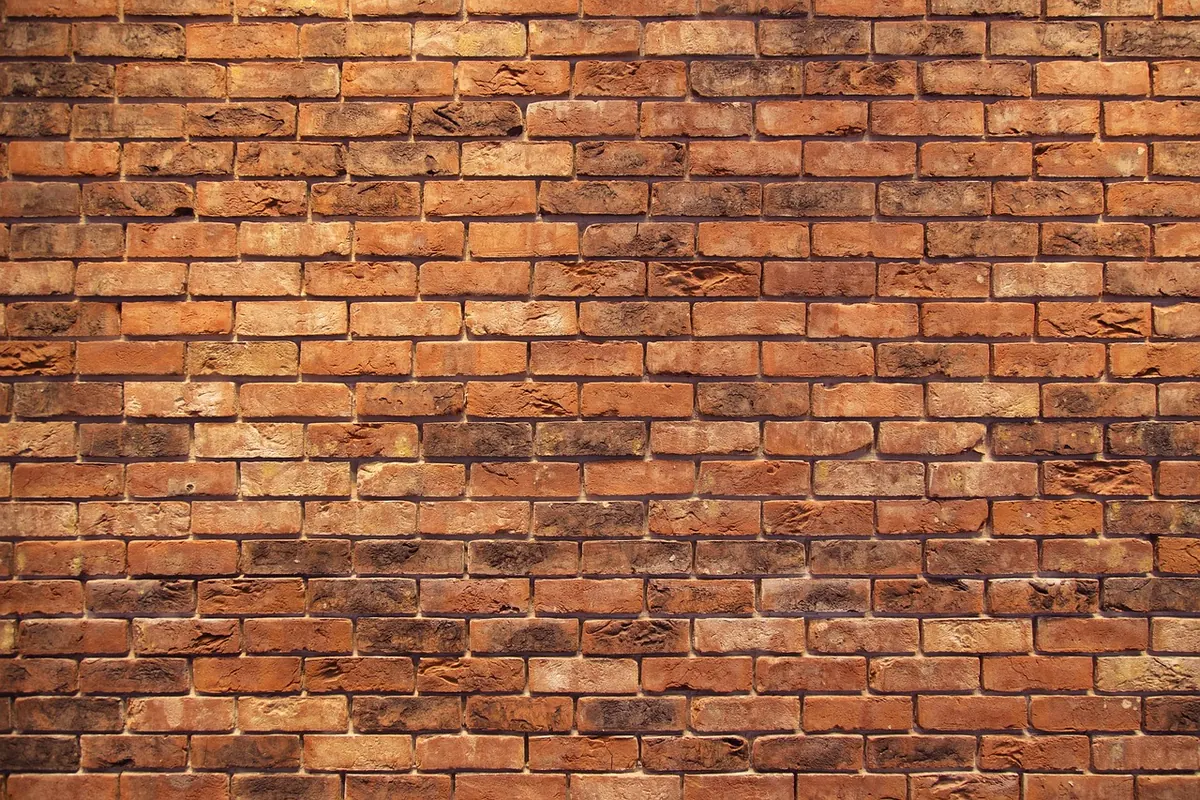
On a wind-battered gable, a weatherstruck joint — sloping outward at the top, recessed at the bottom — is the best performer. A slightly concave bucket-handle joint is a close second. Avoid flush joints and anything that projects proud of the brick face, because a ledge of mortar simply holds water against the wall.
Curing: the slow part nobody wants to do
Lime doesn't harden by drying out. It carbonates slowly, taking carbon dioxide from the air, and it needs moisture present while that happens. Keep the new work damp for several days by misting it with water, and hang hessian over the face if the weather is warm or breezy. Don't point if frost is forecast within the next couple of days, and cover the wall if heavy rain is due before the mortar has firmed.
Resist the urge to seal the wall afterwards with a modern masonry paint. A breathable finish — limewash, for instance — lets moisture out, which is the whole point of using lime in the first place.
When to stop and call someone in
Repointing is well within reach of a careful DIYer working at ground level. Anything above a low single storey is a different matter: use a properly erected scaffold or a tower, never a ladder with a bucket hooked over a rung, and consider hiring someone for the high sections rather than improvising.
Stop and get professional advice if the wall is bulging or leaning, if you find cracking that runs through the bricks, if lintels or copings have moved, or if the gable is part of a listed building or sits in a conservation area where consent may be needed before work begins. A structural engineer or your local conservation officer is the right call, and it's far cheaper than repairing a wall that was already on its way out.
Photo: Michael_Laut / Pixabay